Is your Amazon Fire Stick not working? here are the Common Problems and Solutions. Hello friends in this guide I am going to write about different issues that arise while using your Amazon Fire TV stick. Many issues may arise in Amazon Fire TV sticks due to which your Firestick may not work properly. You need to have some patience and check for the problem of your fire stick and its corresponding solution.
Firestick not working common problems and solutions
1. The Fire TV stick won’t turn on
The first thing you need to check is the Amazon Firestick adapter if your Firestick won’t turn on. If your Firestick working fine then you need to check the USB cable connecting your Firestick and the adapter. If everything is fine then there might be an issue with the device itself.
Touch the device if it is hot then wait for some time and try turning it on once again. Still, if your firestick won’t turn on then follow this guide.
- Make sure that the fire stick adapter is powered ON. Remove the TV plug from the power socket while the fire stick is still connected to the TV.
- Wait for 1 minute and then plug the TV unit back in the power socket.
- Make sure that the HDMI connection is secure
- Check your fire stick input channel it may turn on now.
If the original power adapter and cable that came with the Fire Stick are not working then replace them with a new one.
2. Firestick TV remote not working or pairing
If your Firestick TV remote not working or is unable to pair with your firetv stick then check the batteries first. If they are drained replace them with the new one. Still, your Amazon Fire stick not working simply unplug the power supply from the device wait for 30 seconds and then plug it back into the power supply. If you are not able to fix the issue then simply follow the guide which I published earlier.
Fix the Firestick TV remote not working or pairing issue
Hope you can fix this issue after reading this guide.
3. App errors, Audio/video issues, blank or frozen screen issues
If you are facing app errors, audio and visual problems, and frozen or blank screen issues then there is one common fix. You need to restart your Fire TV stick. You can do this in two ways
- You can restart your Fire TV stick by holding the select and play/pause buttons at the same time or
- Navigate to “Settings” on your Fire Stick.
- Scroll down and select “My Fire TV.”
- Choose “Restart” and confirm.
4. Home is currently unavailable
This is the most common issue which every Firestick user may face.
Is Amazon Fire Stick not loading home?
This issue may arise when your Fire TV stick won’t connect to a Wi-Fi network.
All you need to do is to check that you have access to the Wi-Fi connection and that your Fire TV stick is connected to it. A stable internet connection is crucial for streaming with the Fire Stick. If your fire stick is not connecting to the Wi-Fi network restart your router and then connect to it. This may resolve your issue
5. Fire TV stick not showing the picture
If your power adaptor as well as the USB are functioning well and the TV plug is properly connected to the socket then check for the HDMI cable. A faulty HDMI cable may result in no picture you need to check with another cable.
Also, modern TV sets will have multiple HDMI Ports. Check the HDMI input if the Firestick is on HDMI 1 and you are looking for a picture on HDMI 2 you need to switch the input from HDMI 2 to HDMI1.
6. The fire TV stick is Struck and is not responding
When your Firetv is struck and is not responding even if you press the buttons on the remote then a simple restart will fix this issue. You can simply turn off the power switch of the adapter and then power On it will restart.
If the firestick is struck on the particular app and the remote is working then follow these steps
- Navigate to “Settings” on your Fire Stick.
- Scroll down and select “My Fire TV.”
- Choose “Restart” and confirm.
Once the device restarts, check if the problem is resolved.
7. FireStick struck on Software Update or Optimizing System storage and applications
This problem arises when there is a software update to your Firestick.
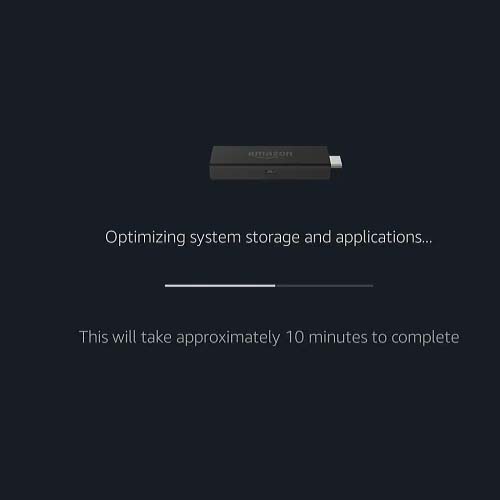
It may usually take 5 to 10 minutes depending on your internet connectivity for the update to happen. Wait for the suggested amount of time. In case your Firestick is struck on this screen or continuously rebooting then there will be a bad update. Perform the following operations on your Fire TV Stick
- Check the power adaptor and USB cable. If they are faulty replace them with another one.
- Restart your Fire TV stick
- Check with different HDMI Ports
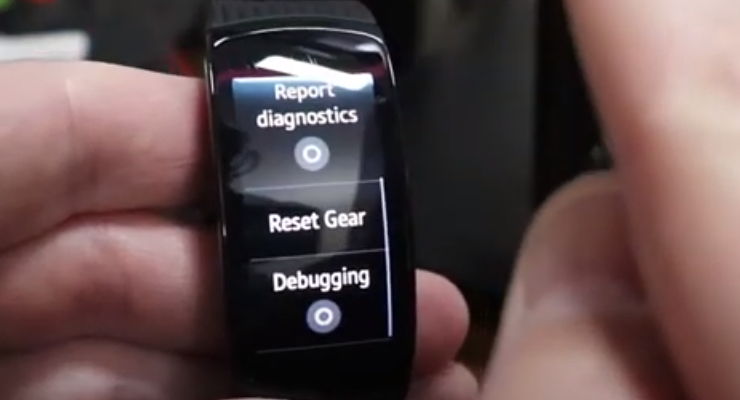
- Reset your Fire TV Stick.
Even though you have performed all the above steps and still the problem is not solved you need to contact Amazon Customer Support. I have faced the same problem my Fire TV Stick was not working no matter how many times I have tried restarting, changing cables and resetting the Fire TV stick.
I made a call to Amazon customer support and they replaced the Fire TV stick with a new one. The new one is perfectly working. If you are also facing the same problem and don’t know what to do then simply chat or make a call to Amazon customer support they will solve the issue with your Fire TV Stick.
8. Fire TV Stick Overheating
In case your Fire TV Stick is overheating make sure you plug it off and let it cool down for some time. If it still continues to overheat then take it to a hardware shop they will open and apply heat sink paste on it. Your Fire TV Stick won’t heat again.
I have written down all the possible ways to fix your Fire Stick not working. If you are facing other problems with your Fire TV Stick just comment down below I will try to write down possible solutions for the issue. Thank you.